Before you start to activate your network license online, you need:
- Internet access. If you do not have internet access, you can activate your license offline.
- The network activation code with at least one available seat.
- The latest version of the License Server Manager installed. We recommend the version License Server Manager 18.0.79 especially if you need to activate Trados Studio 2024/ 2022 / 2021 Network license. Refer to the Note section below for instructions on finding and installing the License Server Manager.
IMPORTANT: if you had installed the License Server Manager for Studio 2014, you need to upgrade to the latest version, because the previous one does not allow online activation.
Activating your license:
- Open the Licensing Server Manager:
- for Windows 7 via: Start > All Programs > RWS > License Server Manager
- for Windows 8/10/Server 2012 via: Charms menu (Dashboard) > License Server Manager
- In the License Server Manager dialog, select Activate and enter/paste the activation code into the field:

- In the field Quantity to Activate, specify the number of seats you would like to activate on the server.

- Click Activate:

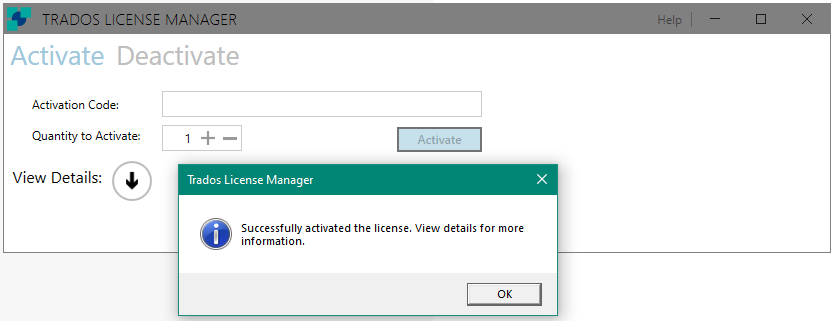
- A message is displayed indicating that the activation was successful:

Once your license is activated, please follow the steps described in the article below to connect to your server:
https://gateway.sdl.com/apex/communityknowledge?articleName=000001388
Deactivating your product returns the license to the SDL Activation Server. You may want to do this if you plan to:
- Move your license to another computer.
- Upgrade your license to one that has more Commuter (Concurrent Users).
- Upgrade your license to another edition.
- Reformat your computer then install the SDL License Server Manager on the same machine again.
NOTE: Before you start to deactivate your network license online, you need internet access.
Deactivating your license:
- Open the Licensing Server Manager
- for Windows 7 via: Start > All Programs > RWS > License Server Manager
- for Windows 8/10/Server 2012 via: Charms menu (Dashboard) > License Server Manager
- In the License Server Manager dialog, select Deactivate.
- Select the product for which you want to deactivate the network licenses and press Deactivate All:

A message is displayed indicating that the deactivation was successful. This means that you have now returned your license. You can activate the license again with a different installation of the License Server Manager.

Finding and installing the License Server Manager
Download and installation
- Download the License Server Manager 18.0.79 installer from the Products & Plans > Downloads section in your SDL Account.
Unzip the file downloaded at step 1 and double click on the .exe file to execute the installer on the computer that you want to act as the license server.
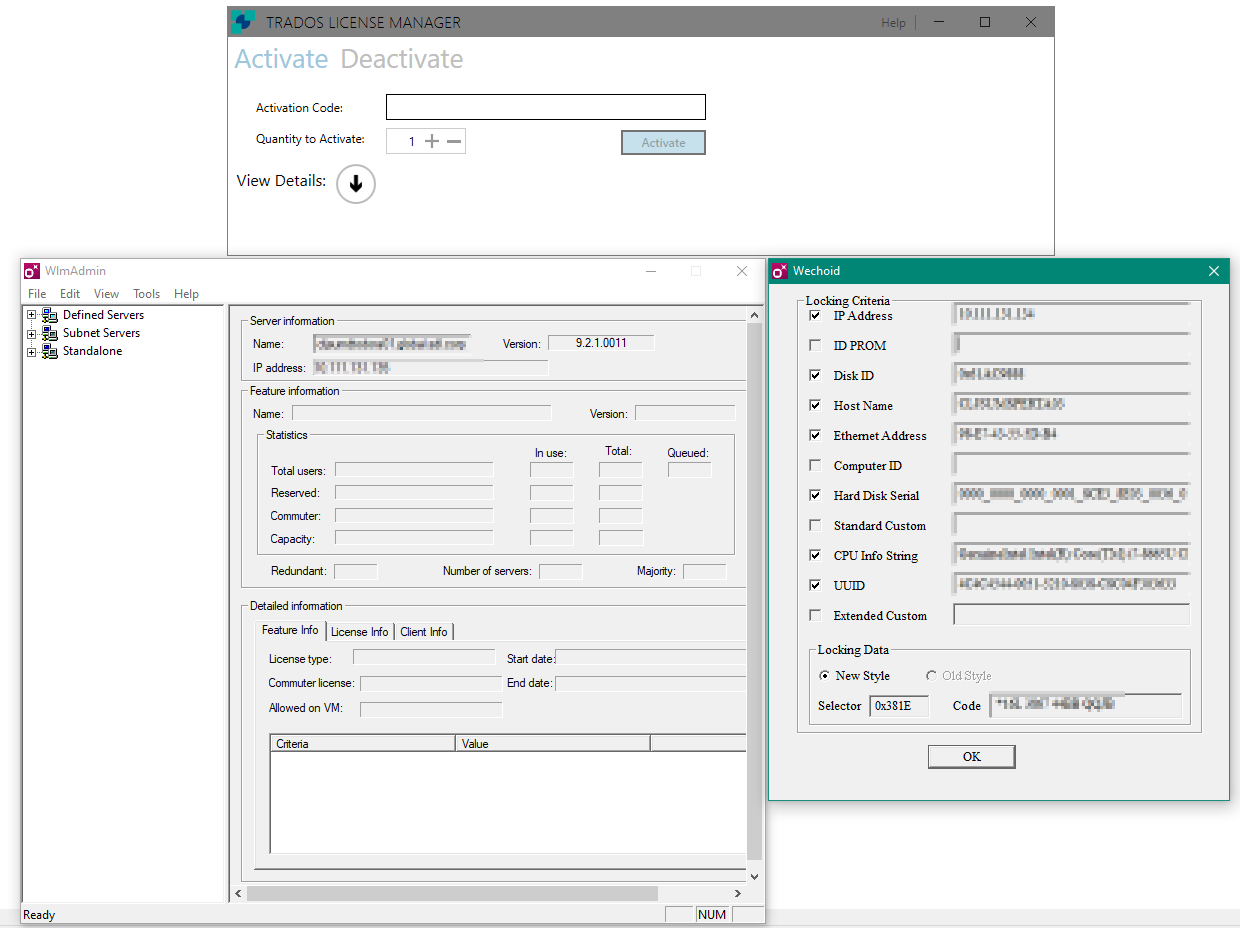
The License Server Manager installer adds the following utilities to your computer:
- Locking Utility (
Wechoid): This generates locking codes for activating the network license on the server offline. - SafeNet License Manager (
WlmAdmin): This monitors all licensing activity and controls the distribution of license seats to clients. - License Server Manager: This is the activation utility to be used when doing a online (de-)activation:

Default storing location
The default location for storing the installed License Server Manager, the imported license files and your preferences is:
- 32-bit computers: C:\Program Files\Common Files\SDL\Sentinel
- 64-bit computers: C:\Program Files (x86)\Common Files\SDL\Sentinel
If this article has not solved your issue or if you require assistance, contact the SDL Support Team:


