Please follow these steps:
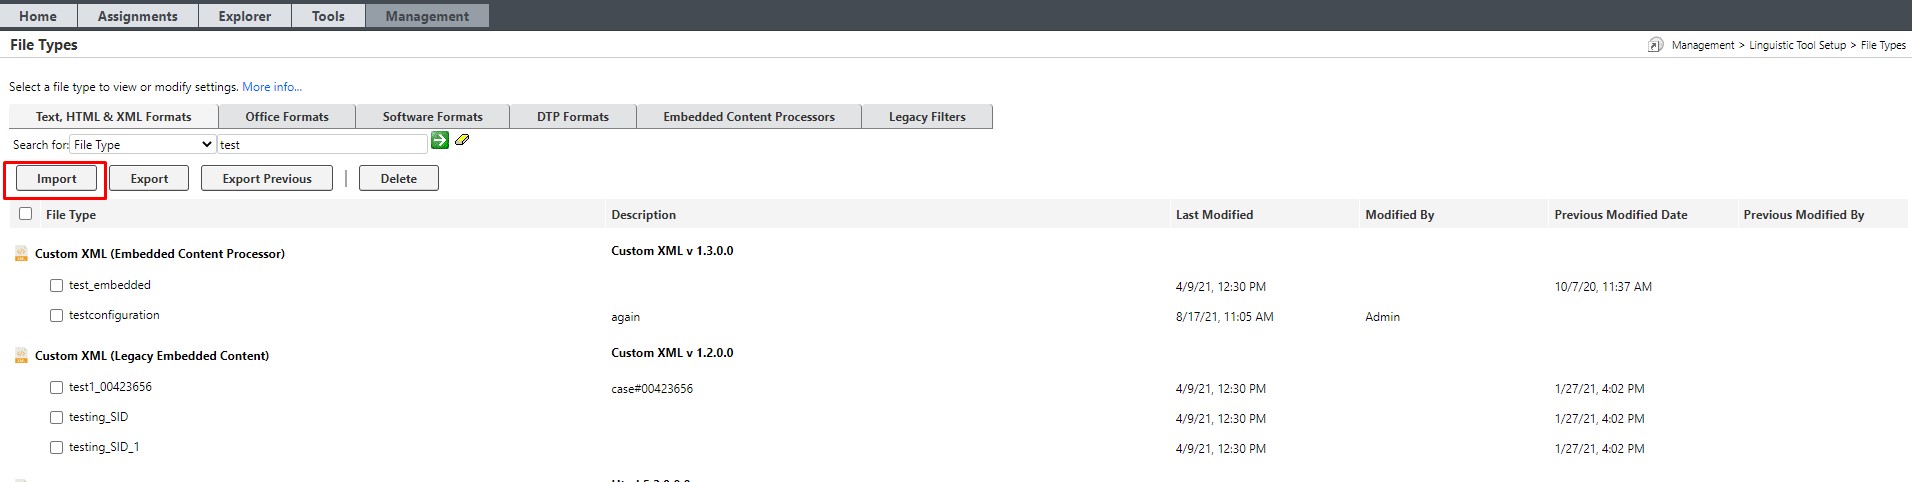
1. If you want to export a Custom XML (Embedded Content Processor) File Type configuration that includes a specific processor, it is important to
first export the processor associated with the configuration. To do so, under
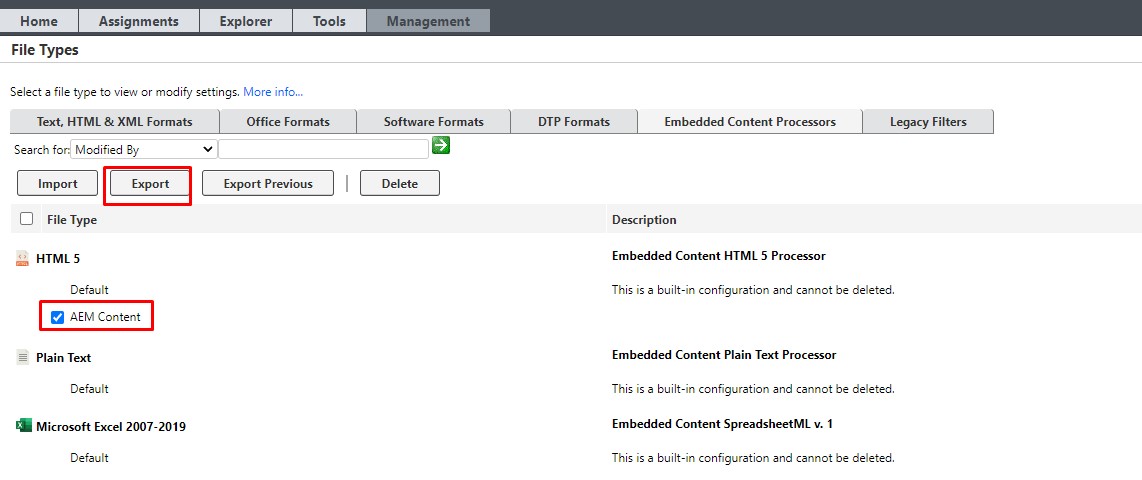
Management > Linguistic Tool Setup > File Types, go to the
Embedded Content Processors Tab, select the processor associated with the file type configuration and click Export. In the screenshot below, you see an example where the specific processor is called
AEM Content:
2. After clicking on the Export button, an
*.sdlecsettings file (not to be confused with the *.sdlftssettings file) with the name of the processor will be created. In this example, the file will be called
AEM_Content.sdlecsettings. Save the file to your local computer.
3. Open
Trados Studio 2021 and 2022
4. Go to
File > Options and select
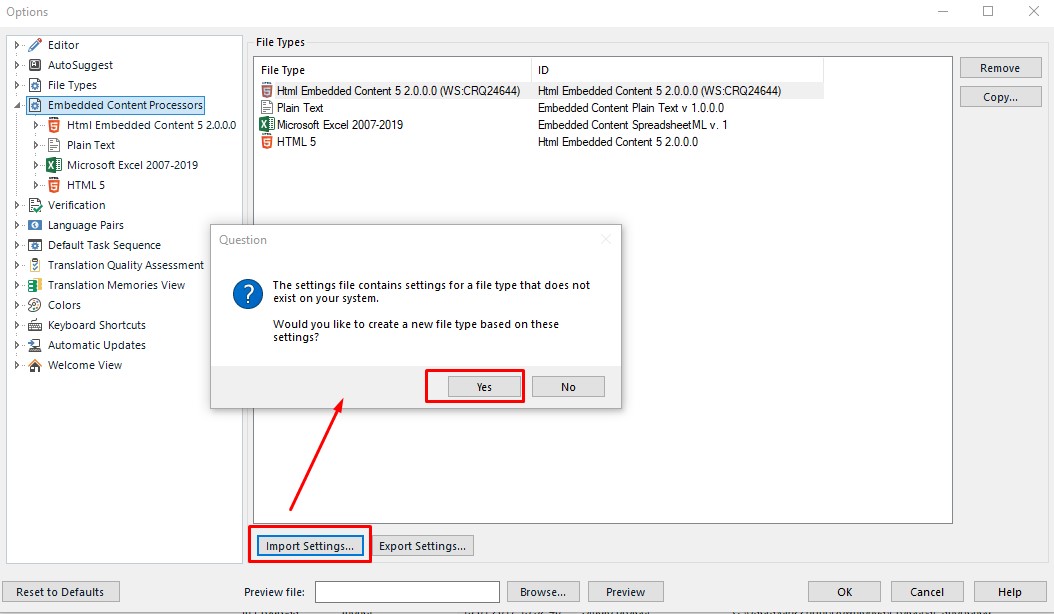
Embedded Content Processors6. On the bottom, you will see the button
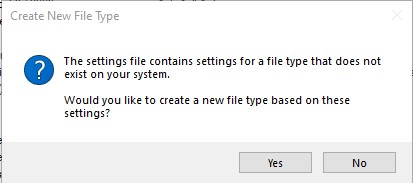
Import Settings... Click on it to start the import. If you see the alert
The settings file contains settings for a file type that does not exist on your system. Would you like to create a new file type based on these settings?, click
Yes.
7. You will then see the confirmation
Settings successfully imported. The processor is now added to the list of
Embedded Content Processors in your
Trados Studio. Note: if you need to make changes to the embedded content processor used by your file type configuration, you can do so normally in Studio, but remember to import the changed
sdlecsettings file to WorldServer by following the same steps as for the file type setting (export settings/import to WorldServer, override the existing configuration or import it as a new one).
If no changes are done, there is no need to re-import the processor to WorldServer.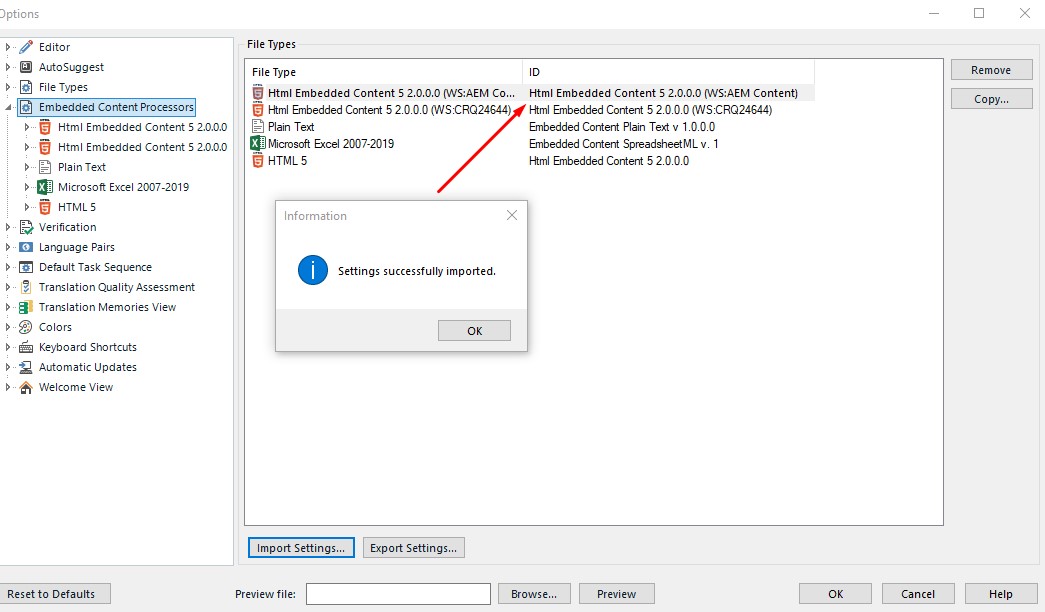
8. Now you can export your
Custom XML (Embedded Content Processor) File Type configuration which contains the reference to the embedded content processor. To do so, in Worldserver go to
Management > Linguistic Tool Setup > File Types and select the File Type configuration you would like to change. In this example, the file type configuration is called
AEM Entity Test:
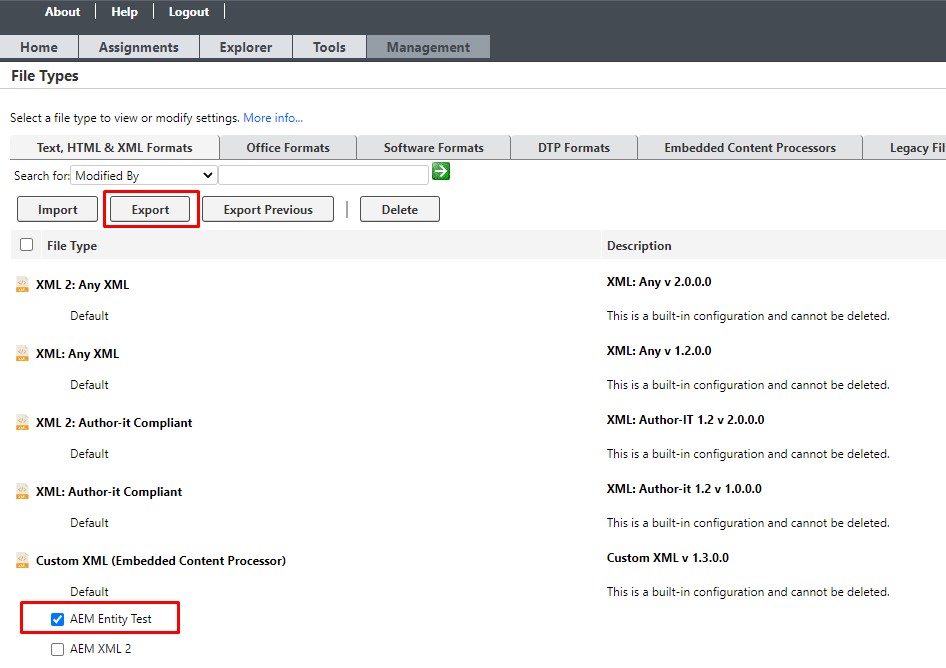
9- Click on the
Export button. The file type configuration will be exported and you can save it on your computer. The export file will preserve the name of the configuration (i.e. name
AEM Entity Test) and will have the file extension
*.sdlftssettings. Following this example, the exported configuration file could have the name
AEM_Entity_Test.sdlftssettings.
10. Open or go back to
Trados Studio 2021 or 2022
11. Go to
File > Options and select
File Types12. On the bottom, you will see the button
Import Settings.... Click on it to start the import. If you see the alert
The settings file contains settings for a file type that does not exists on your system. Would you like to create a new file type based on these settings?, click
Yes. You will then see the confirmation
Settings successfully imported.
13. Now your File Type configuration is visible on the top of the list of file types, right under the SDLXLIFF file type. The file type name will be automatically set as
Custom XML v 1.3.0.0 (WS:AEM Entity Test). The configuration name (in this example
AEM Entity Test) from WorldServer is added in brackets after
WS:
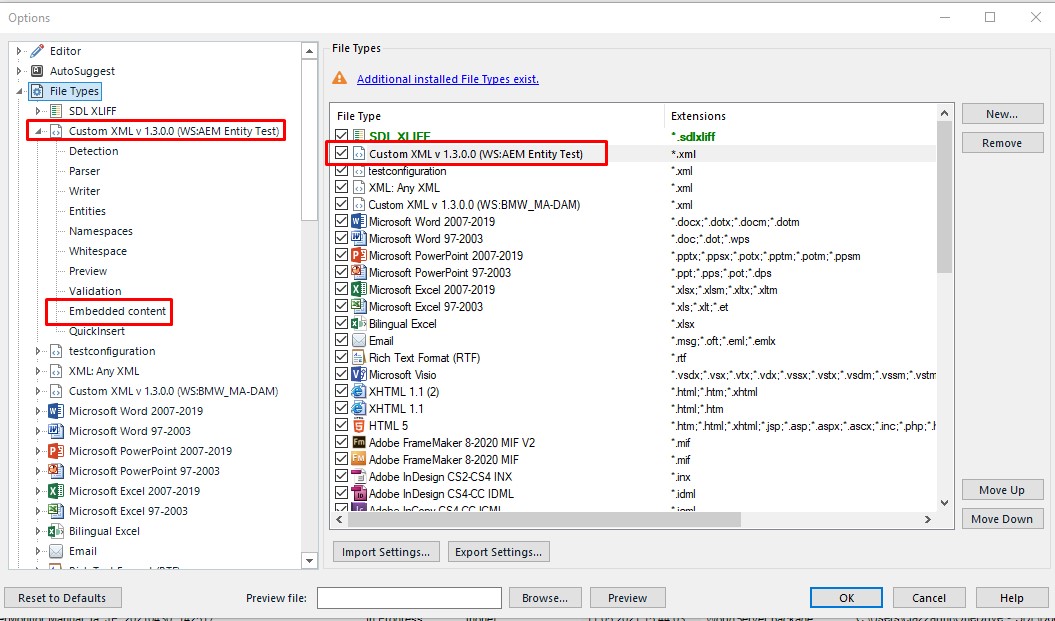
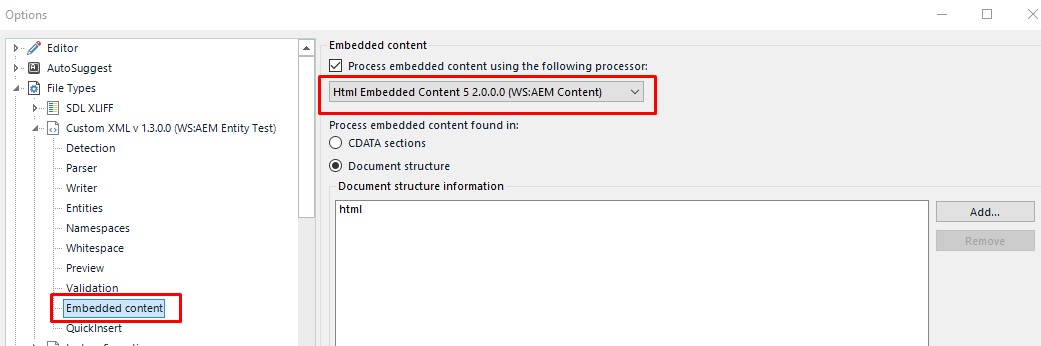
14. Expand it and you will access the configuration options, for instance, Parser Rules, etc., and also
Embedded content. Click on the
Embedded content section. You will see that the embedded content processor that you have previously imported has been associated with the file type.
15. Any changes that you will make will be saved to the *.sdlftssettings file that you have stored on your computer when exporting from WorldServer and that you have selected after clicking on
Import Settings. Alternatively, just select your File Type configuration in Studio and click on
Export Settings... to export it to a new sdlftssettings file. The same applies to changes done to the Embedded Content Processor configuration.
Once you are done with your changes, you can simply import the
*. sdlecsettings (Embedded Content Processor) and the
sdlftssettingsfile back to WortldServer. For the
*. sdlecsettings (Embedded Content Processor) file: this is only needed if you have made changes to the configuration. If that is the case, import it back to WorldServer first (before importing the *.sdlftssettings file). If no changes were done to the Embedded Content Processor configuration, there is no need to import it backto WorldServer.
To import the sdlftssettings file back to WorldServer, go to
Management > Linguistic Tool Setup > File Types and select
Import
16. The
Import window will open up. Click on
Choose File to browse to the *sdlftssettings file and click
OK.
17. If you are importing a File Type configuration that was originally exported from WorldServer and is present in your WorldServer environment, you will be presented with the option to
Overwrite the existing configuration (default) or to create a new one with a different name, for instance,
testconfiguration_V2.sdlftssettings. The option to save under a different name is helpful if you want to keep different configuration versions for testing or for different files.

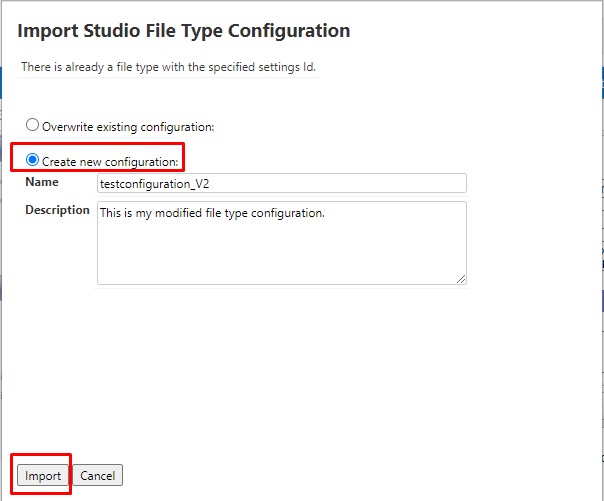
18. Once you have selected the import option that is right for you, click on
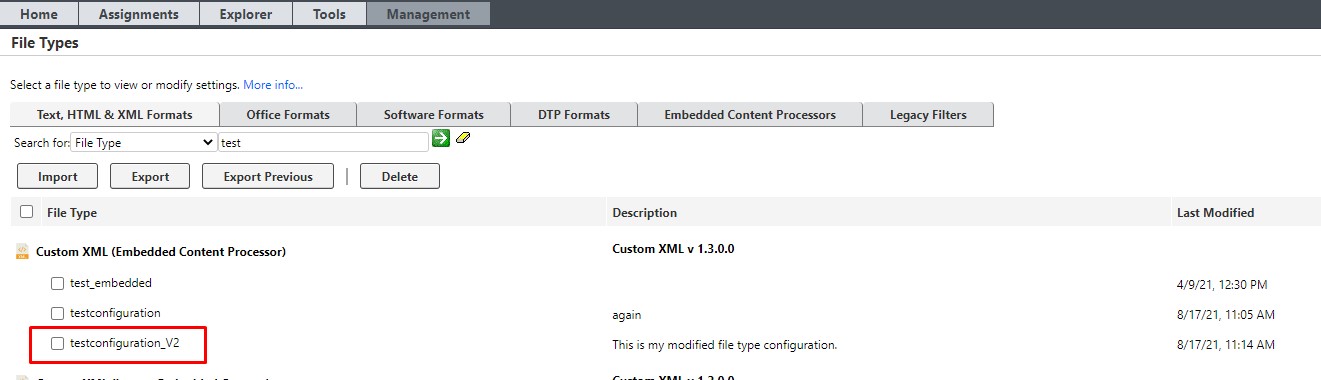
Import. Your existing file type configuration will be either updated/overridden or a new one with the designated name will be created, as in this example:
 Note
Note: if you had not first imported the Embedded Content processor in Trados Studio before importing the file type configuration, after the import in Trados Studio, in the Embedded content section the associated processor will display as Not Available or you would receive some type of error):
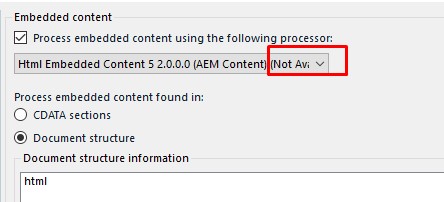
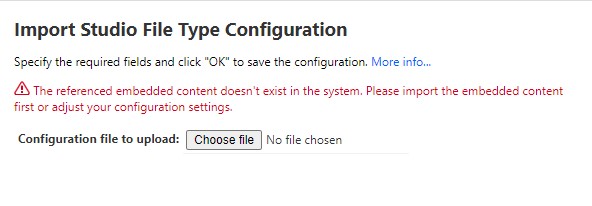
As a consequence, after making changes to the file type configuration and exporting the sdlftssettings file to be imported in WorldServer, the import in Worldserver will fail with this error
The referenced embedded content doesn't exist in the system. Please import the embedded content first or adjust your configuration settings.