| Answer |
Export the Termbase from Language Cloud
- Log into Language Cloud and go to Resources -> Terminology -> Termbases.
- Tick the box next to the termbase you want to export.
- Click More Actions -> Download Termbase Definition.

- After a few seconds, Language Cloud will give you an termbase definition file to download (with the file extension .xdt). Save it somewhere you can find it later, such as your Downloads folder.
- With the termbase still ticked, click the small down arrow next to the Export button (do not click the button itself) and choose XML.
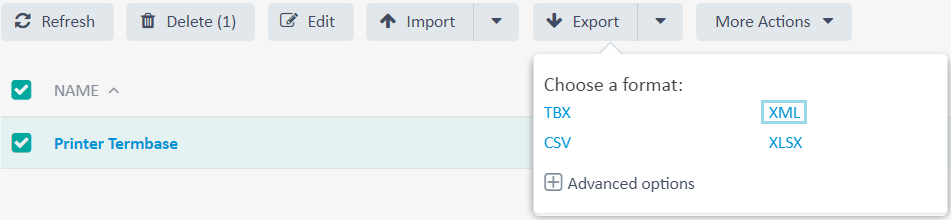
- Depending on the size of the termbase, this may take some time. When the export is ready, Language Cloud will give show you a pop up with a Download File link. If you miss the pop up, you can get the download link from Notifications -> Show details in the top-right corner of the page. After clicking the link, your browser will save the termbase data export (with the file extension .xml). Make sure you save the file somewhere you can find easily later, such as in your Downloads folder.
Import the Termbase into MultiTerm Desktop
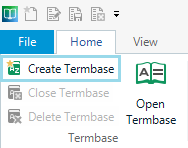
- Open MultiTerm Desktop and click the Create Termbase button on the ribbon bar.
- Choose a name and location for your new file-based termbase (it should be somewhere you can easily find). Then click Save.
- Click Next, choose Load an existing termbase file and then click Browse ...
- Locate the .xdt file you saved in step 4 of the export instructions. Then double-click the file.
- Click Next > and give the termbase a name e.g. Printer Termbase
- Click Next > -> Next > -> Next > -> Next > and then Finish.
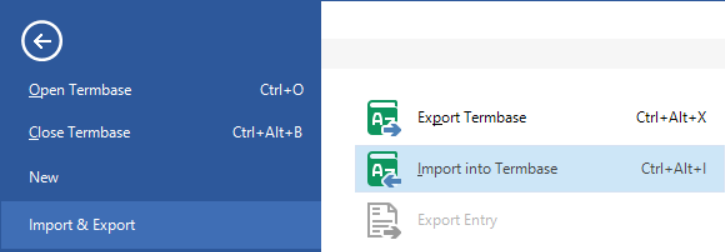
- Click File -> Import & Export -> Import into Termbase.
- Click the Browse... button to the right of Import file: and locate the .xml file you saved in step 6 of the export instructions.
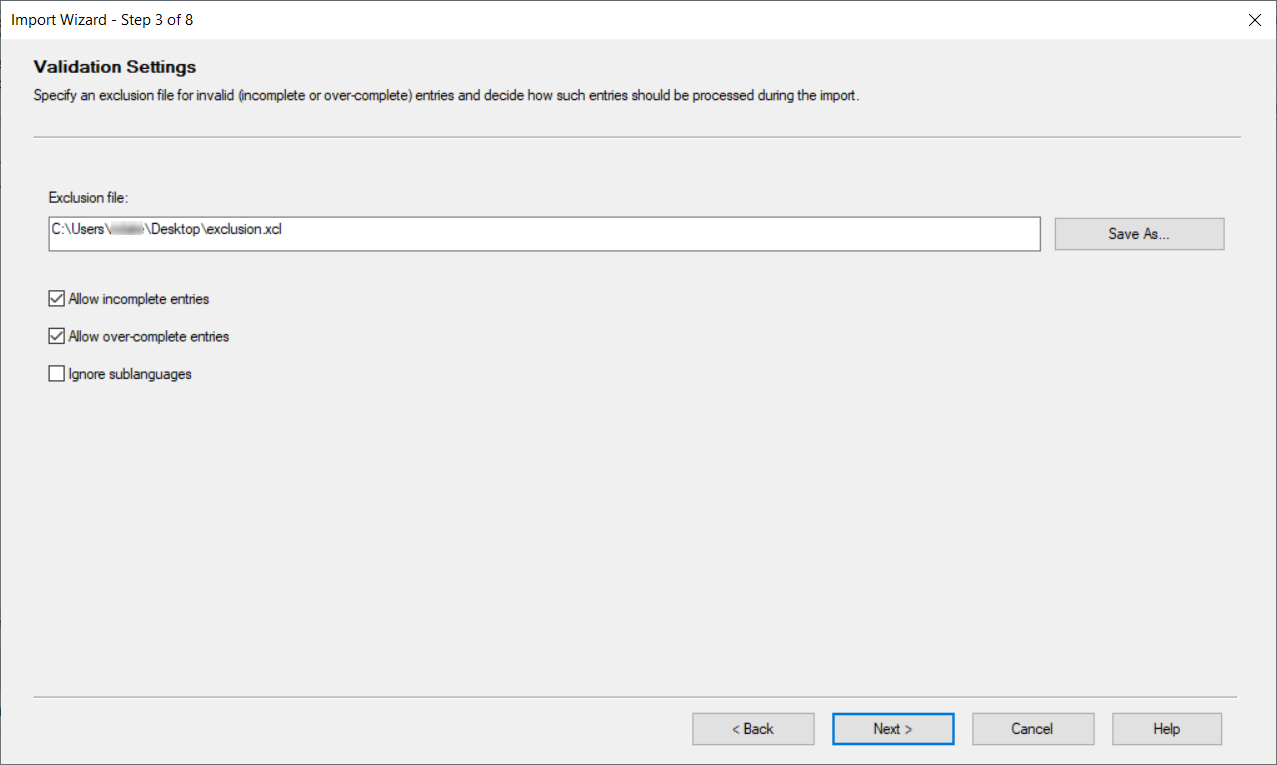
- Click Next > then Save As... to the right of Exclusion file: and choose a name and location (the name and location are not important, but saving an exclusion file is mandatory). Then click Save.
- Unselect Ignore sublanguages and select Allow over-complete entries.
- Click Next > -> Next > and wait for the import to complete. Once it has completed, click Next > followed by Finish.
|
|
|---|