As stated in the
Release Notes of version 11.7, this version marks the complete removal of all Silverlight configuration pages. This means that you can no longer add or modify file type configurations directly from WorldServer. Instead, you must now perform these configurations in Trados Studio, export them, and then import them into WorldServer. You can refer to the file type identifier to make sure that you import your Studio settings to the correct file type. These are the detailed step to export a file type configuration, open and modify it in Trados Studio and finally import it back to WorldSever:
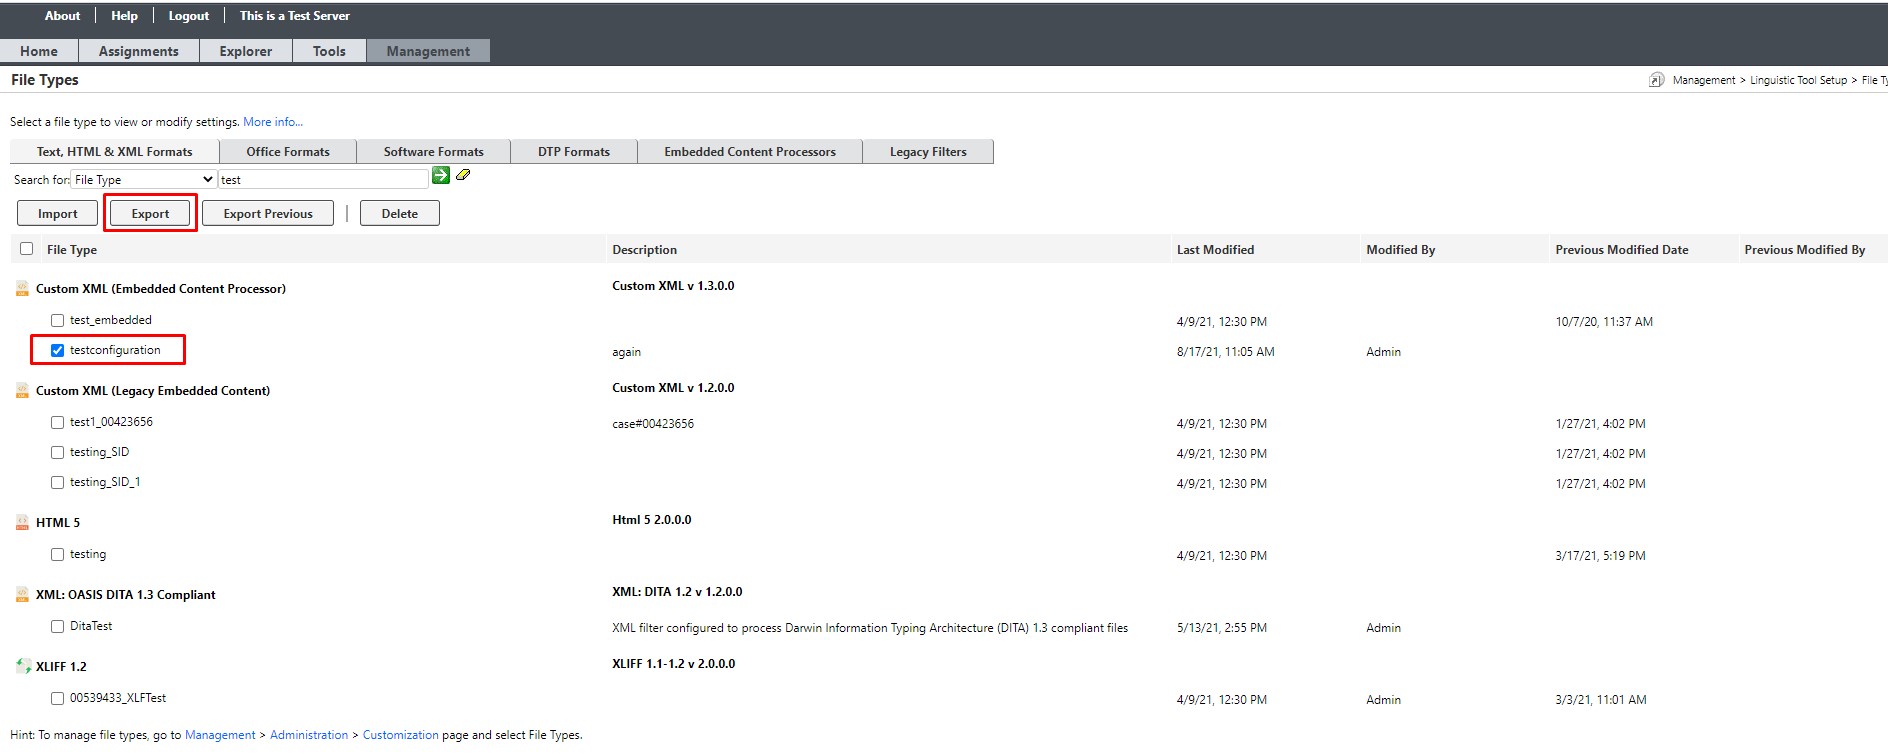
1. In WorldServer, go to
Management > Linguistic Tool Setup > File Types and select the File Type configuration you would like to change.
2. Click on the
Export button. The file type configuration will be exported and you can save it on your computer. The export file will preserve the name of the configuration (i.e. name
testconfiguration) and will have the file extension *.sdlftssettings. Following this example, the exported configuration file could have the name
testconfiguration.sdlftssettings.
3. Open
Trados Studio4. Go to
File > Options and select
File Types5. On the bottom, you will see the button
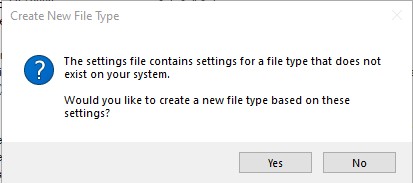
Import Settings.... Click on it to start the import. If you see the alert
The settings file contains settings for a file type that does not exist on your system. Would you like to create a new file type based on these settings?, click
Yes. You will then see the confirmation
Settings successfully imported.
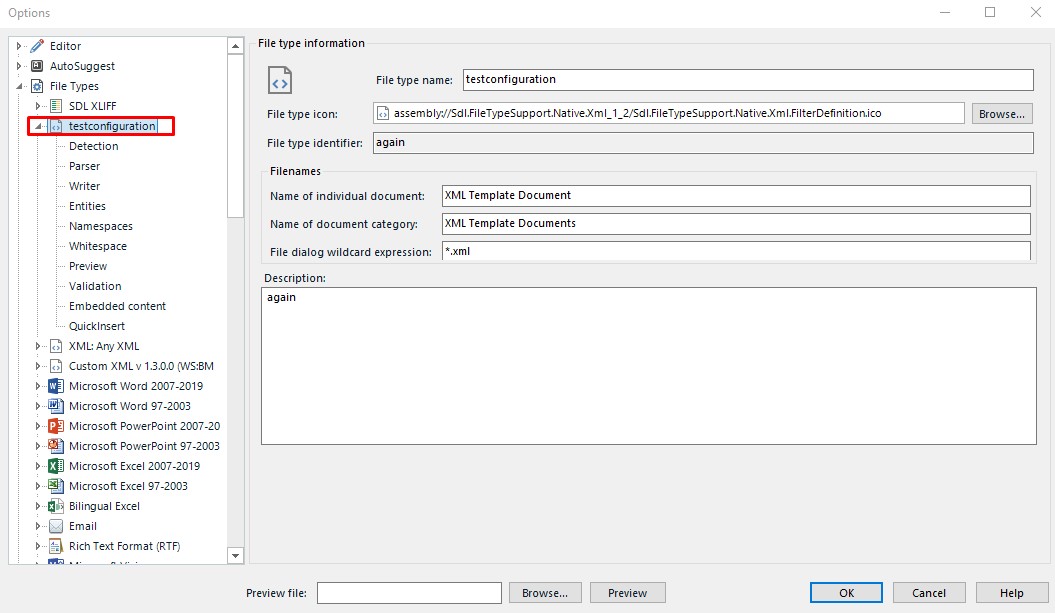
6. Now your File Type configuration is visible on the top of the list of file types, right under the SDLXLIFF file type. Expand it and you will access the configuration options, for instance, Parser Rules etc., depending on the File Type you want to configure. You can make your changes and click on
OK to save them.
7. Any changes that you make will be saved to the *.sdlftssettings file that you have stored on your computer when exporting from WorldServer and that you have selected after clicking on
Import Settings. Alternatively, just select your File Type configuration in Studio and click on
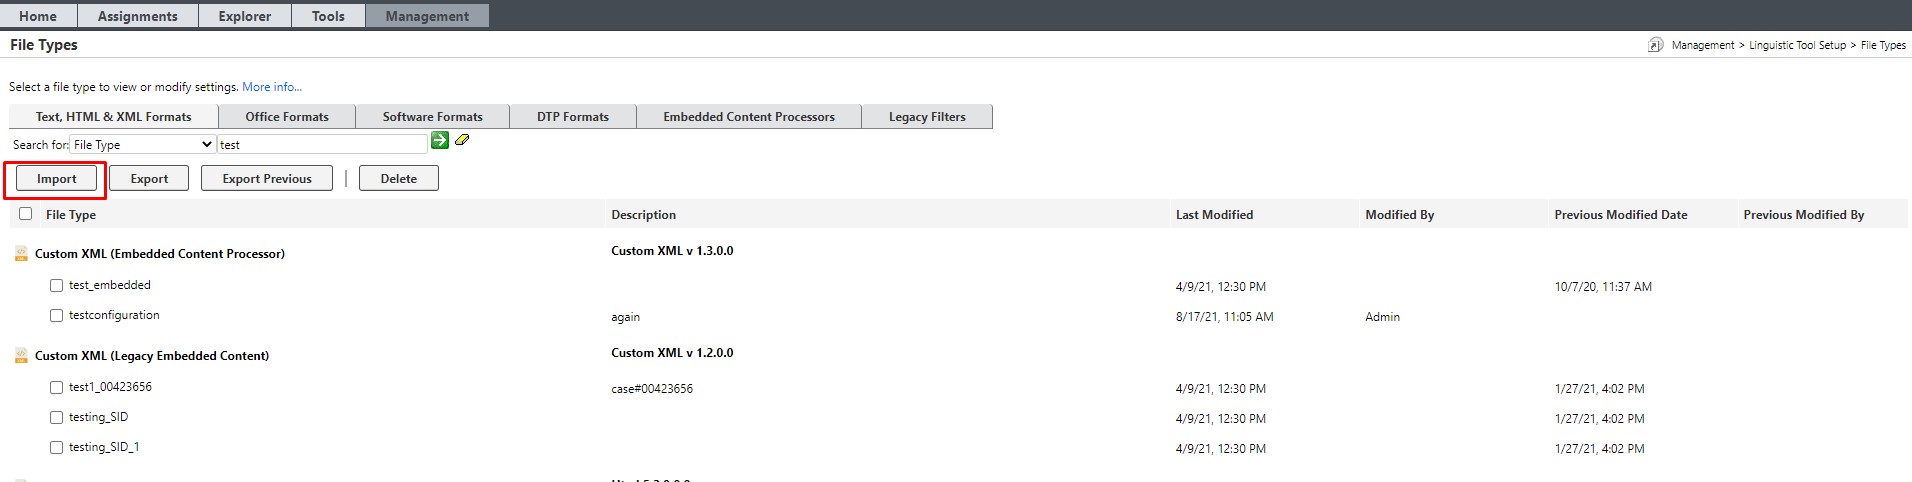
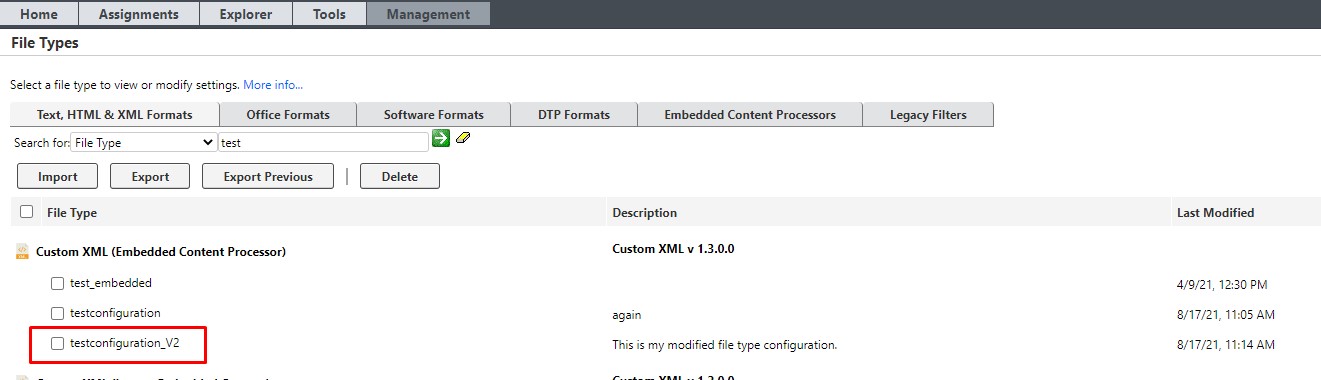
Export Settings... to export it to a new sdlftssettings file. Once you are done with your changes, you can simply import the sdlftssettings file back to WorldServer by going back to Go to
Management > Linguistic Tool Setup > File Types and select
Import:
8. The
Import window will open up. Click on
Choose File to browse to the *sdlftssettings file and click
OK.
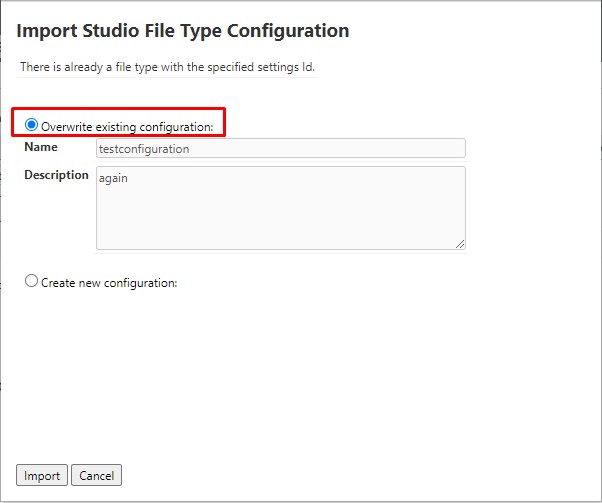
9. If you are importing a File Type configuration that was originally exported from WorldServer and is present in your WorldServer environment, you will be presented with the option to
Overwrite the existing configuration (default) or to create a new one with a different name, for instance,
testconfiguration_V2.sdlftssettings. This is good if you want to keep different configuration versions for testing or different files.
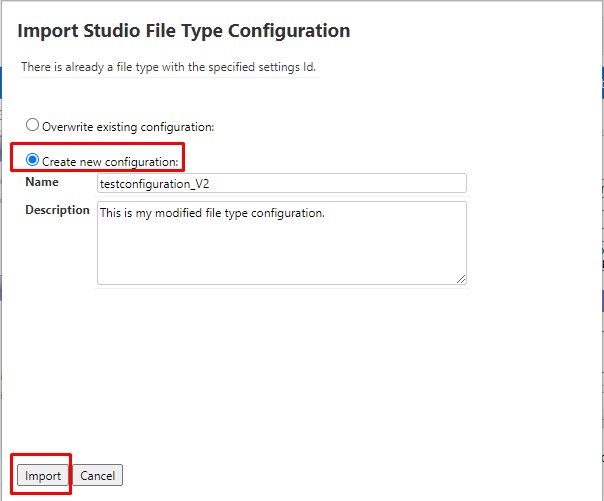
10. Once you have selected the import option that is right for you, click on
Import. Your existing file type configuration will be either updated/overridden or a new one with the designated name will be created. as in this example:
For more information, see Working with file type configurations.