To add one or more source new files to a project as new task(s) through Explorer, follow these steps:
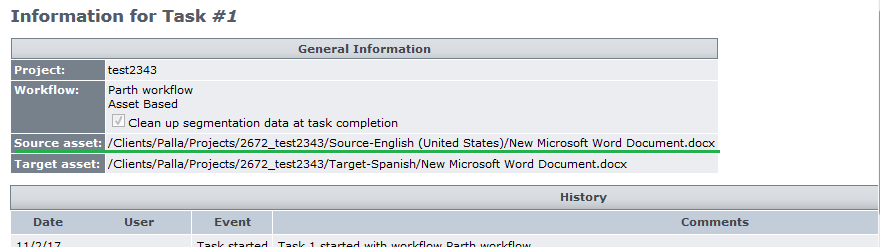
1- Copy the source asset path from the Task History. To view task History, if you use the Legacy User Interface, click on the task number while viewing the project. The Task History/Task Information will open up. Here is an example:
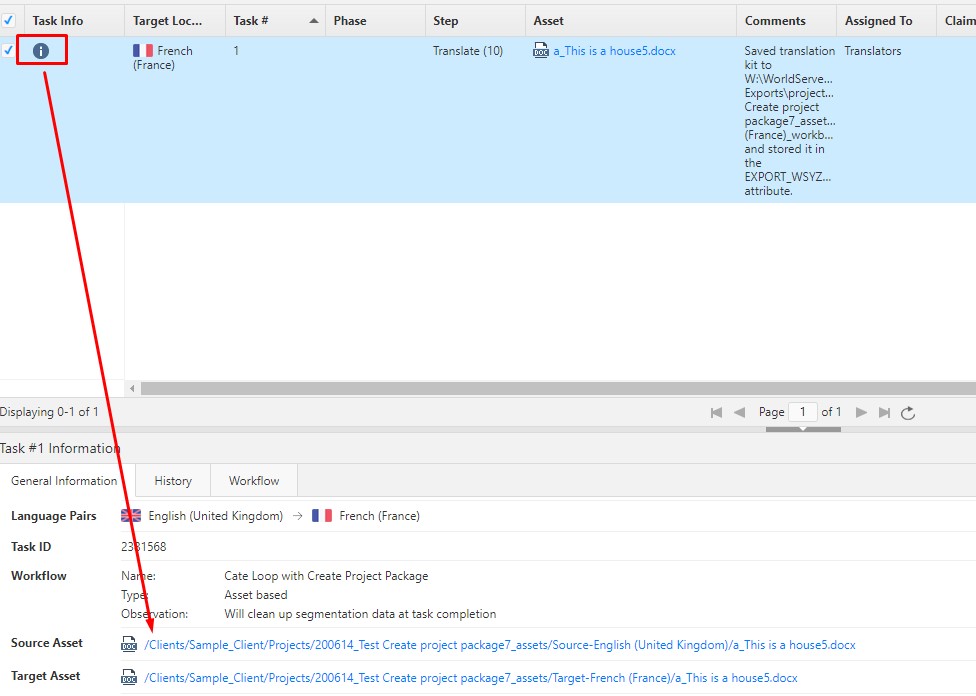
If you use the Modern User Interface, click on the Information symbol on the Tasks page to find the source asset path:
2- Open
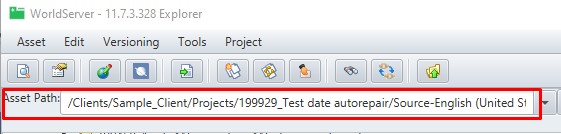
Explorer and paste the source language asset path into the
Asset Path field to view the location of the source asset
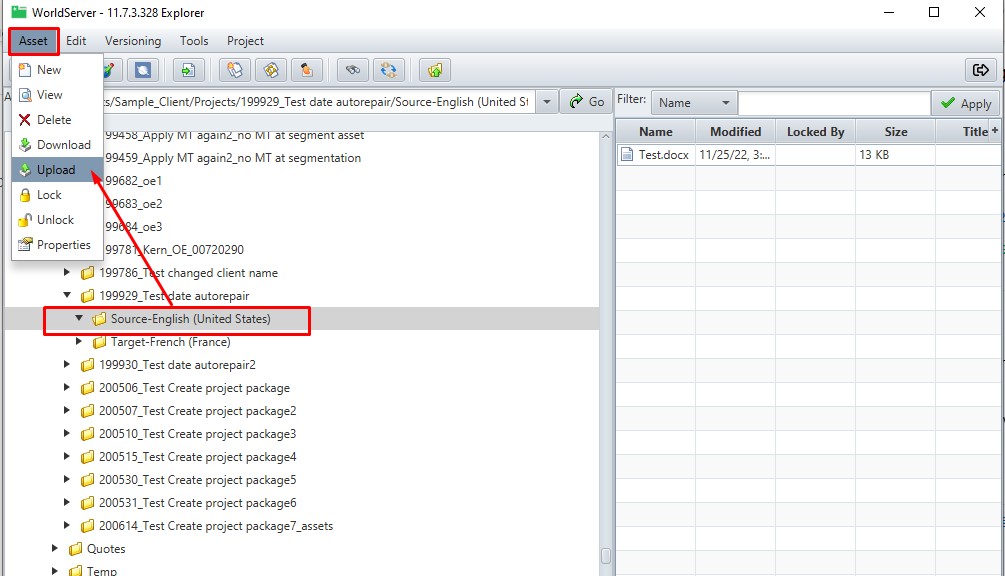
3- Select the source language folder path, go to the Menu, select Asset/Upload. You will be prompted to browse to the file, select it and upload it to the source language folder
4- Once the new file is uploaded and visible (you might need to refresh the folder by right-clicking on it and selecting Refresh to see it), go to the Menu, click on Project and select Add to Project:
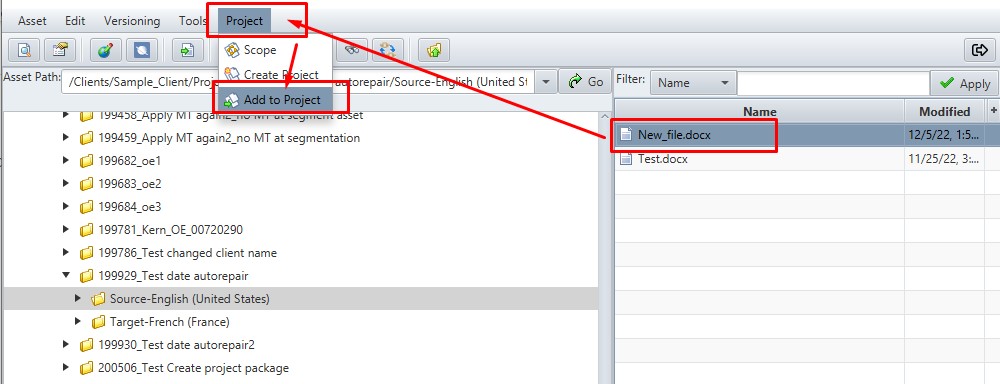
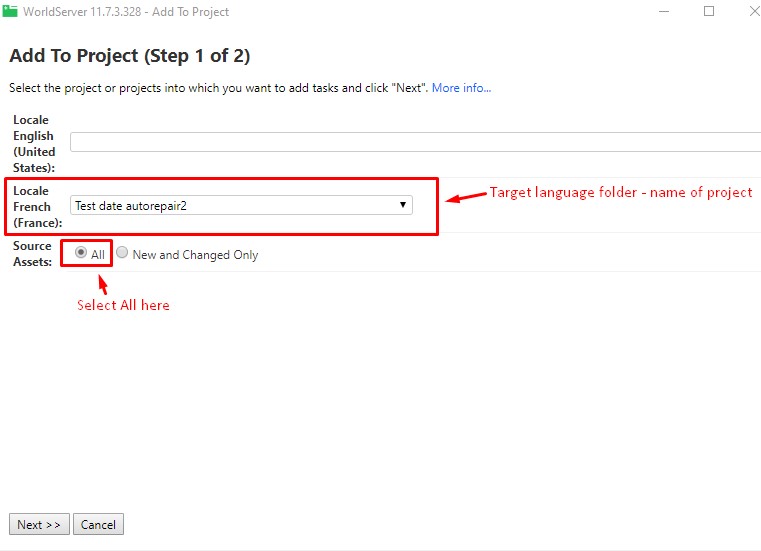
5- The Add to Project window will open up. In the target language field, open the drop-down menu and select the project that you want to add the file/task to (note: you can ignore the source language field, no action is needed here). If you have more than one target language, repeat the selection for each of them:
6- Click
Next. Now, in the drop-down menu, choose the correct
Workflow to add this asset to your existing project and click
Add to Project.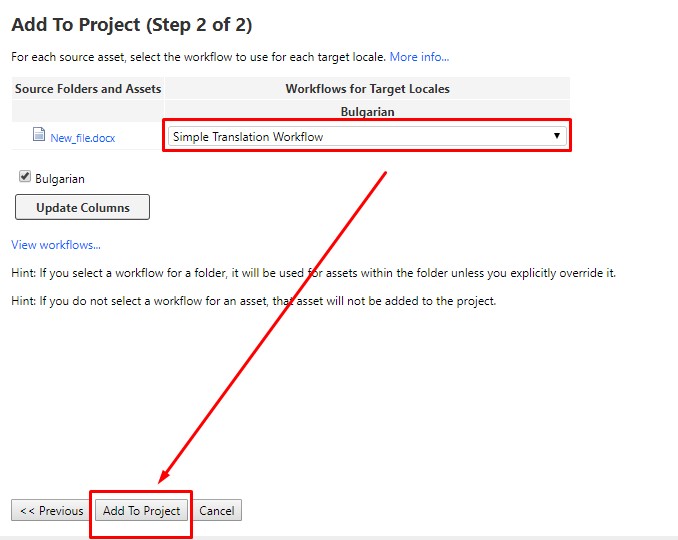
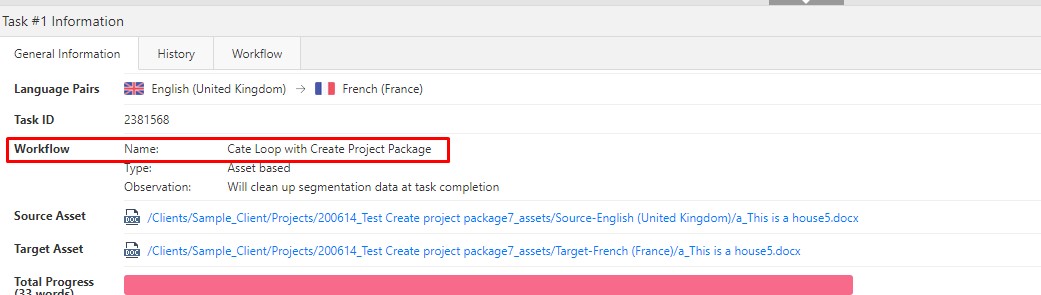
- Hint: to find the name of the workflow associated with the project that you want to add the new Task to, open again the Task History/Task Information of the existing Task and check the Workflow name on the top of the Task Details window. Here is an example:
Finally, click the button Add to Project. Now your new file is added to your project. You will be able to see it in the project's Tasks view.
To add the same source file (with the same name) to a project as a new task through Explorer, follow these steps:
1- Copy the source asset path from the Task History. To view task History, if you use the Legacy User Interface, click on the task number while viewing the project. The Task History/Task Information will open up:
If you use the Modern User Interface, click on the Information symbol in the Tasks page to find the source asset path:
2- Open
Explorer and paste the source language asset path into the
Asset Path field to view the location of the source asset
3- Select the Source language folder in the folder view in the left pane. Right-click on it and select New
4- In the pop-up, choose Filesystem Directory to create a subfolder, then name the folder something unique, like New Task:
5- Once the new folder is created, highlight/select the asset in the source folder and select Edit -> Copy
6- Browse to the subfolder you have created, select it and click
OK to copy the source file to that folder:

7- Highlight the new folder you just pasted under the target folder and right-click to select Properties
8-
Optional: if you need to use a
different File Type Group or Translation Memory than in the original project, in the Filter Configuration field, choose a Filter Group that contains the file type and the configuration that you need. The same applies to the Translation Memory field in the drop-down menu. Click
OK to save your changes (You can skip this step if no change is needed.)

9- Select the file that you want to add as a new Task to the project. Go to the Menu, click on Project and click on Add to project
10- The Add to Project window will open up. In the target language field, open the drop-down menu and select the project that you want to add the file/task to (note: you can ignore the source language file, no action is required here):
11- Click
Next. Now choose the correct
Workflow to add this asset to your existing project and click
Add to Project.- Hint: to find the name of the associated with the project you want to add the new Task to, open again the Task History/Task Information of the existing Task and check the Workflow name on the top of the Task Details window. Here is an example: