- Open Trados Studio and go to the Projects view.
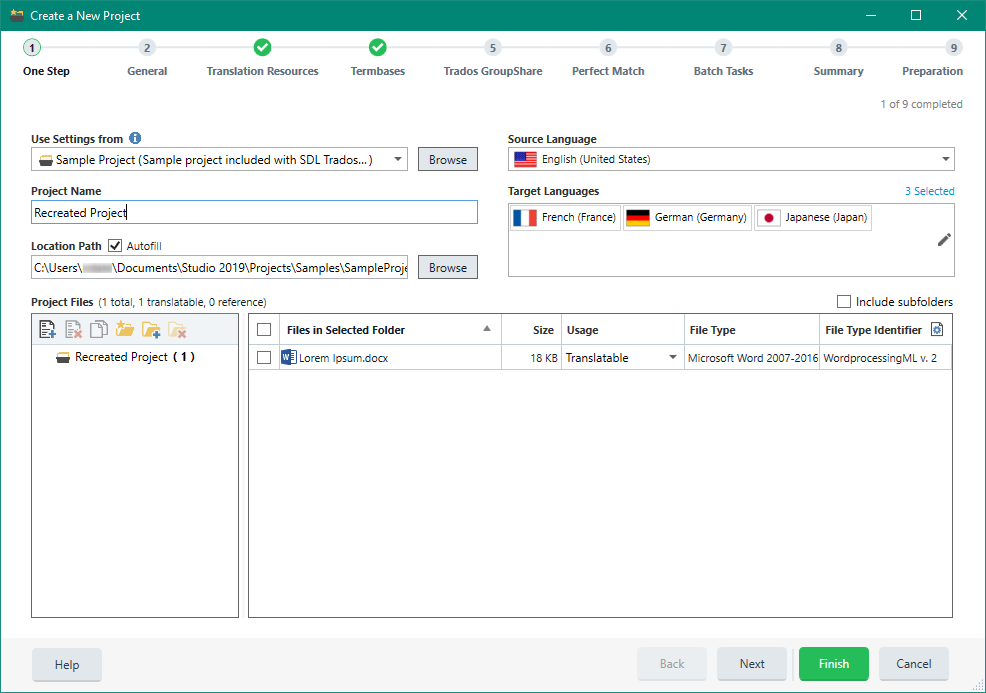
- Click New Project on the Home tab.
- Use the Use Settings from drop down list and select the existing project. This will apply its settings to the new project.
- Type the new project name in the Project Name field. Note that it must be different from the name of the original project.
- Add the source Project Files from the original project.

- Check that your translation memories are added and enabled in the Translation Resources tab.
- Check that your termbases are added and enabled in the Termbases tab.
- If the project is going to be server-based, set the publishing options on the Trados GroupShare tab.
- Go to the Perfect Match tab.
- Click Add Matching File... and choose Matching Previous Documents from Folder...
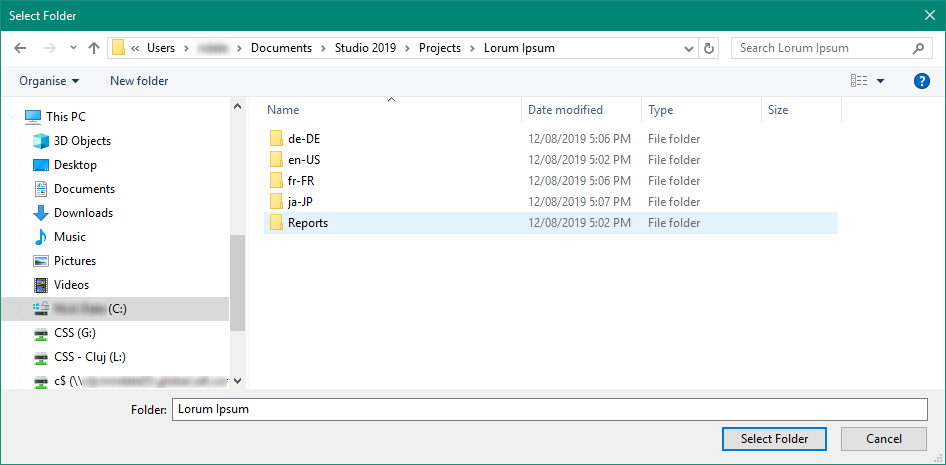
- Browse to the location of the original project and click Select Folder. Then click OK.

- Make sure that each file has a matching bilingual file.
- Click Finish to create the project.
NOTE 1: The
PerfectMatch steps (10-12) should be skipped if your original project got corrupted or if you do not want to take over the information saved in the .sdlxliff files to your new project.
NOTE 2: You may not want to recreate the entire project, only one .sdlxliff file. Or you may not want to use the settings from the previous project, only the source file and the translations you saved in your translation memory. In this case please see:
How to recreate a bilingual SDLXLIFF file in SDL Trados Studio


