A Studio
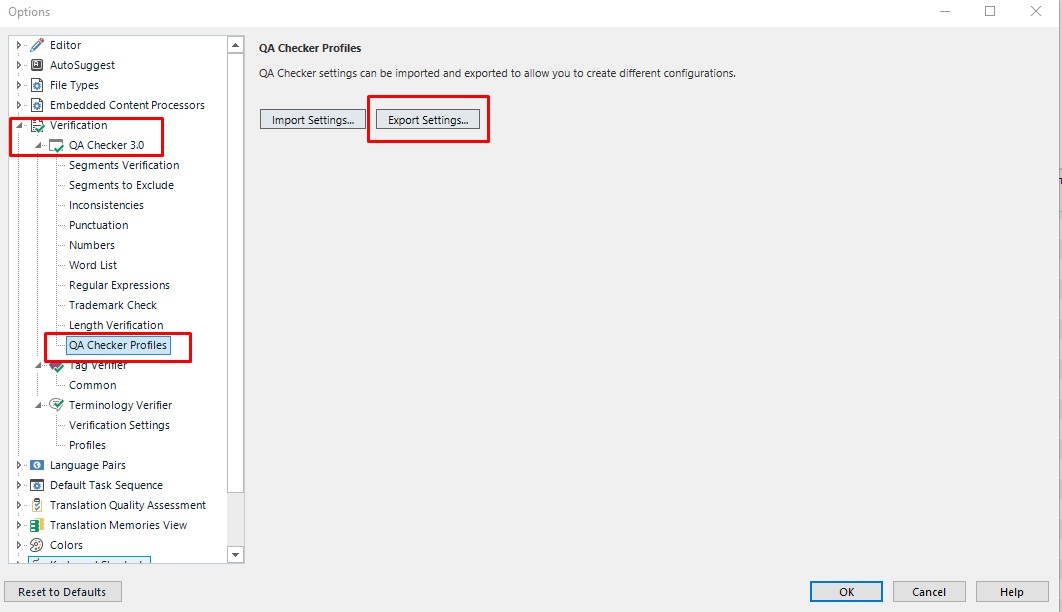
QA Checker Profile is a profile for settings to be used in
Trados Studio for verifications. The
QA Checker Profile can be exported from Trados Studio as
*.sdlqasettings file:
In WorldServer (starting from version 11.3), you can select a specific profile to be added to the WSXZ package exported from a project in the Project Type settings. You will be able to do so only
if a Studio QA Checker Profile has been previously uploaded into WorldServer. To use a Studio QA Checker profile in WorldServer, first, you need to upload it from the location in which Trados Studio exported it. To do so, follow these steps:
1- Go to
Management > Administration > Customization 2- Choose
Studio QA Checker Profile from the
Custom component type drop-down menu and then click
Add.
3- In the
Add Custom Studio QA Checker Profile Component dialog box, type a meaningful name for your QA Checker profile and then click
Browse.
4- Use the
Choose file to Upload dialog box to navigate your local directory structure, select the Studio QA Checker profile and then click
Open.
Once you have uploaded the
QA Checker Profile to WorldServer as explained above, you will be able to select it in your Project Type's settings (
Linguistic Tools tab).
To add the uploaded
QA Checker Profile to your
Project Type, go to
Management > Business Rule Linkage > Project Typesand select the relevant
Project Type. In the
Linguistic Tools tab, you will find the
Studio QA Checker Profile section. In the drop-down menu, select your
Studio QA Checker Profile and click
Save to save your change.
Note: if you have specific
Studio QA Checker Profiles for one or more locales, you can select the
Advanced option to to override the default
Studio QA Checker Profile config for some target locales.
Once a
QA Checker Profile has been added to a
Project Type, a project created with this
Project Type will contain this reference, and a WSXZ package exported from that project will include the
Studio QA Checker Profile for the translator to run after opening the WSXZ package in
Trados Studio.
Moreover, the settings from the
QA Checker Profile will also be applied when running the Verification in Online Editor if the Task is associated with a project created using Project Type that includes a Studio QA Checker Profile. If no
QA Checker Profile is applied through the Project Type, the default verification settings will be applied in Online Editor.